Configuring USB Print Server
1) Insert the Install CD that came with the TP-LINK USB Print Server (if you do not have the disk that came with the product, call CDP Technical support: 800-869-0493 option 1, and we can remote in and drop off the software)
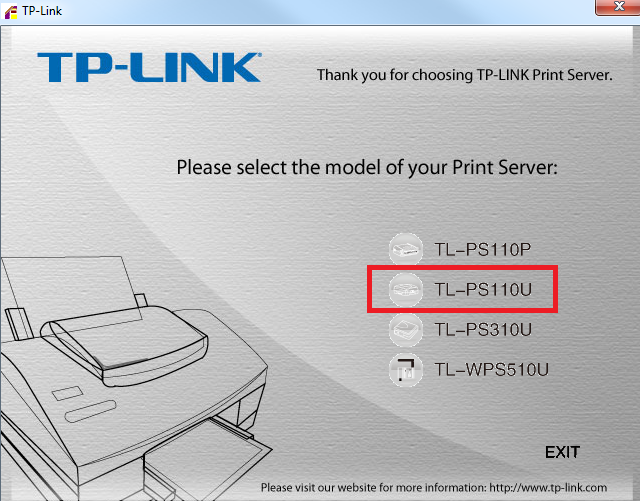
2) Choose the TL-PS110U option (*Note* If you are having issues installing this, make sure Microsoft Outlook is closed during this process)
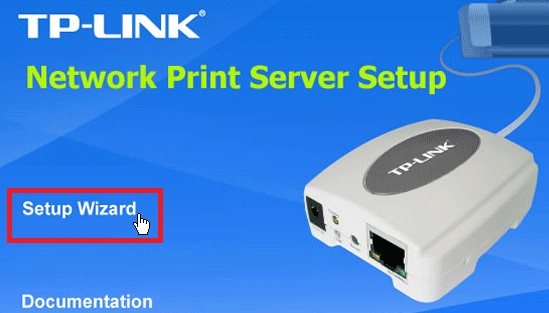
3) Choose Setup Wizard
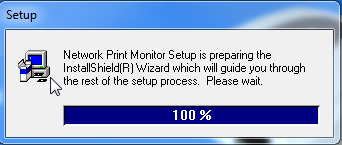
- If successful, you should see an installation bar flash on the screen like in the image below:
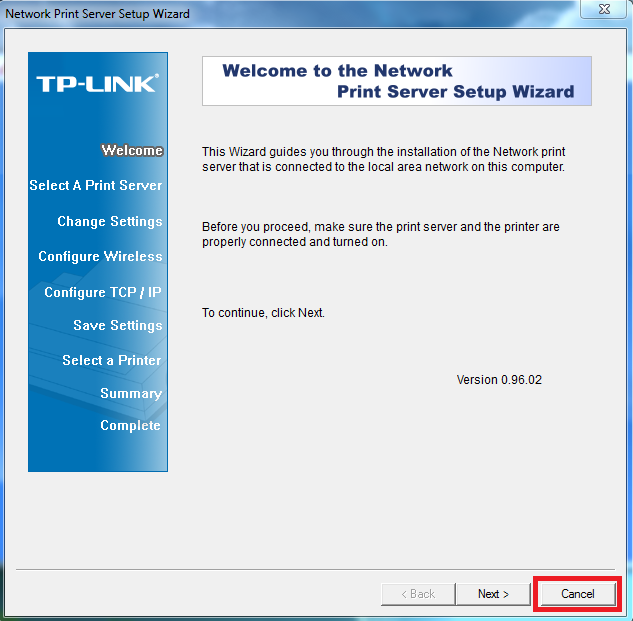
4) When you get to this page, click Cancel
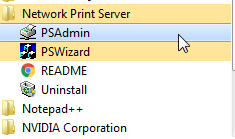
5) Navigate to Start>All Programs>Network Print Server>PSAdmin
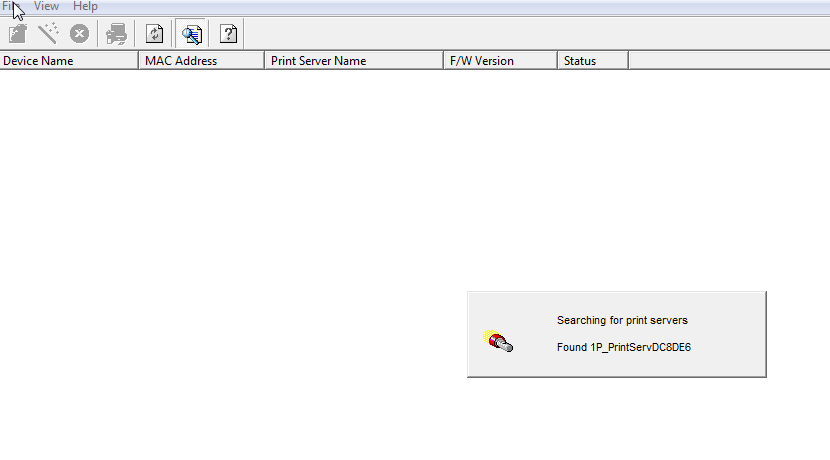
6) Once launched, the software will automatically scan your network for all USB print servers
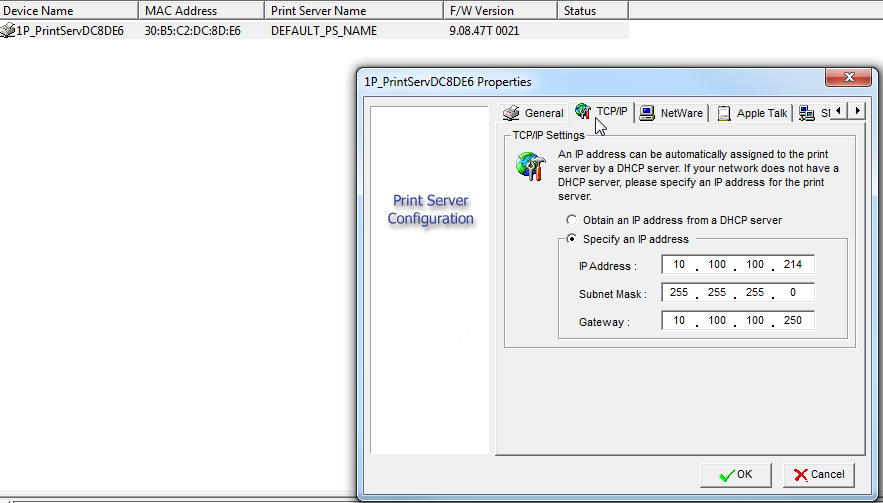
7) Double left click on the print server and select the TCP/IP tab and set the print server to the desired IP/Subnet/Gateway